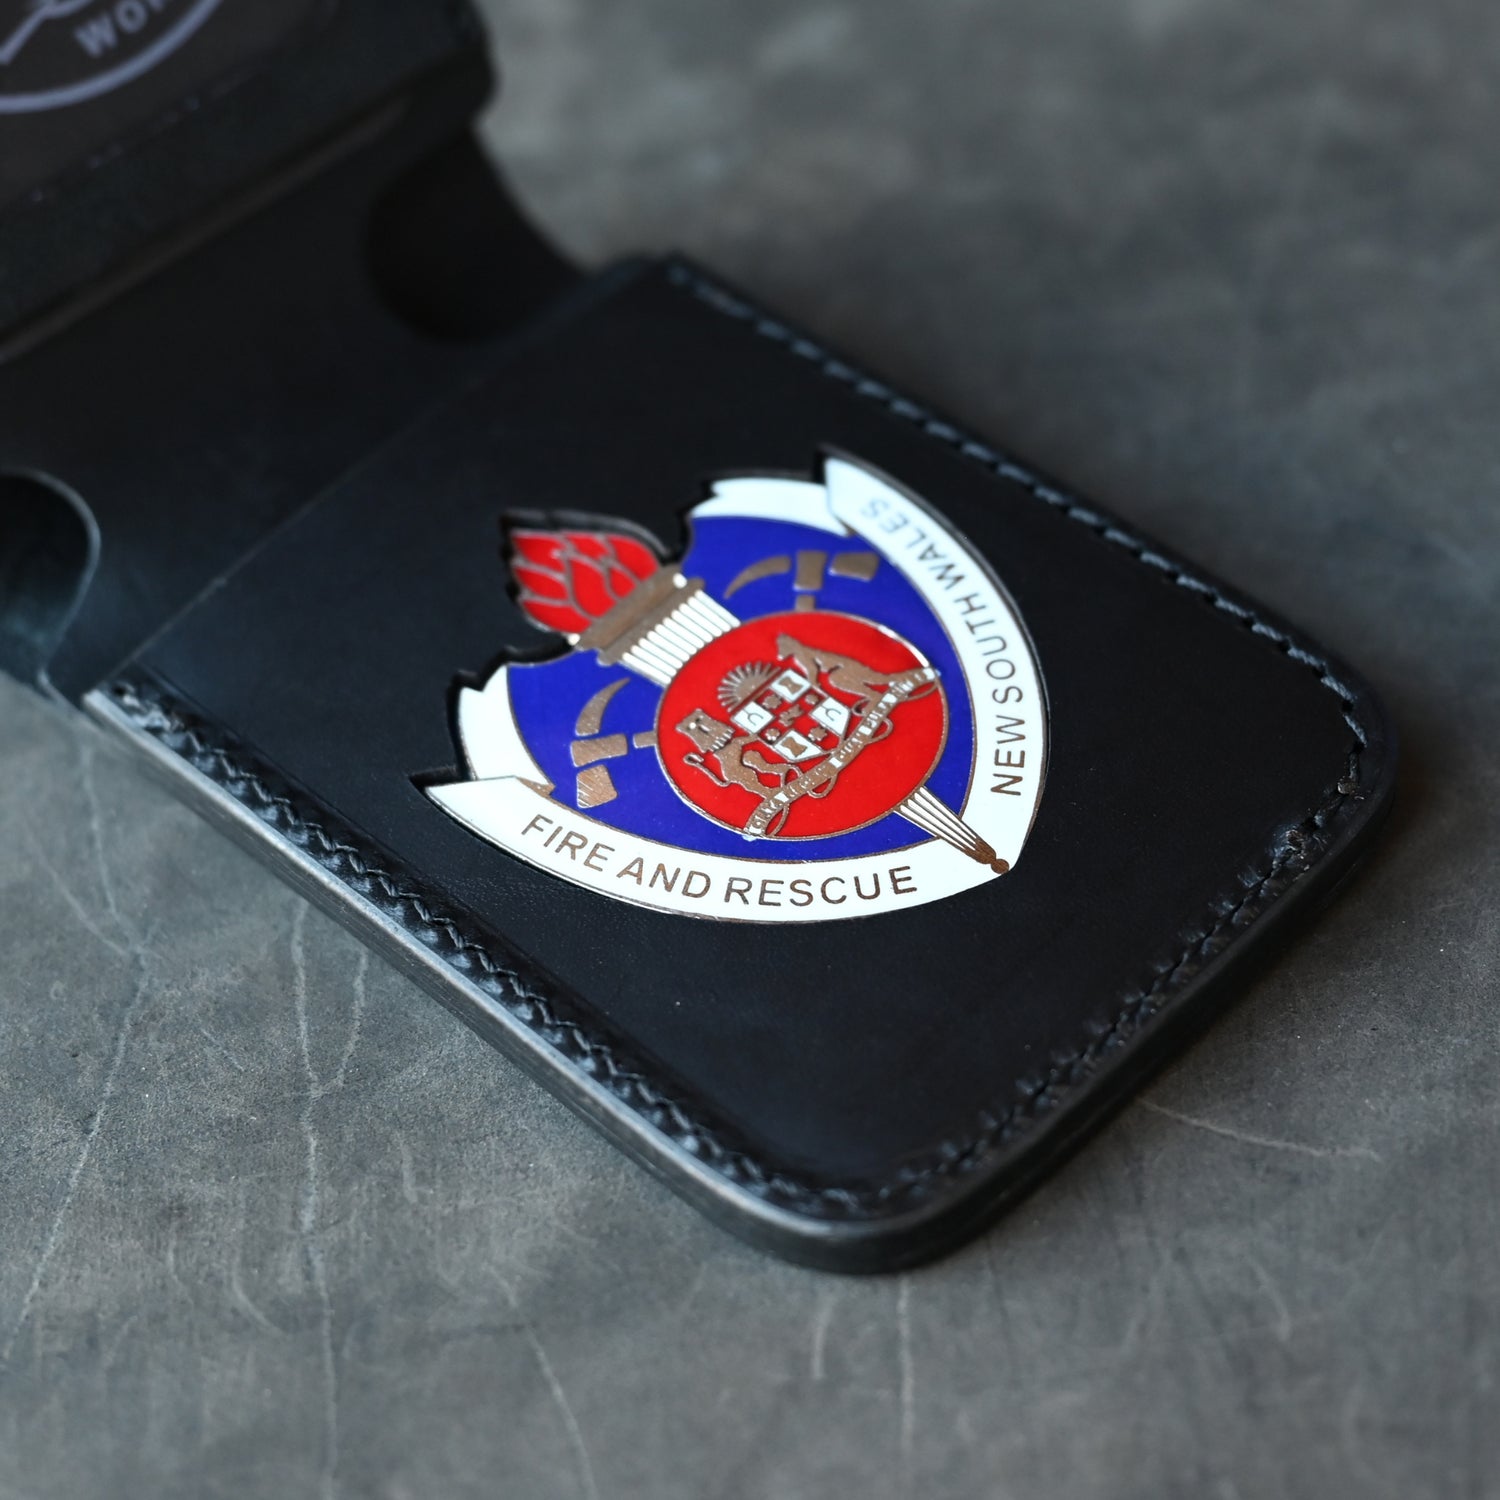
RMK Badge Wallets are a modification of our best selling bifold wallets with laser cut badge and identification panels. With a focus on premium materials and build quality, RMK made badge wallets stand out from standard issue.
When you receive your wallet, you will need to fit your badge to a new mounting card to suit the wallet. Any standard card will do for this job, what differs is the method of attachment. Some use backing cards and others don't, some have screws and others have prongs. We've even seen them glued in place! How you attach mount your badge is up to you, but we've noticed some pros and cons between the different methods.
The methods below include;
- Double sided tape 👍
- Contact Adhesive 👍
- Thumb screws 👎
- Prongs 👎
Double Sided Tape
It's easy to fit, low profile and super sticky! After speaking with an Aussie industrial tape supplier and explaining the application, this is the product he recommended for the job.
1. Insert the plastic mounting card into the badge panel. Make sure that it's been pushed all the way down to the bottom of the badge panel pocket and sitting straight. PLEASE NOTE : THE CARDS WE NOW USE FOR MOUNTING ARE BLACK


2. Peel off the first layer of the double sided tape and apply it to the backing card through the badge cut out panel.


3. Peel off the second layer of the double sided tape.

4. Press your badge into the badge cut out panel. You may need to gently manipulate the badge panel so the badge sits nicely in the cut out shape. Once in place, press firmly on the badge with both thumbs.

Double sided tape gets a thumbs up because it keeps the wallet nice and low profile!
Glue
This method works well, as long as you use a strong contact adhesive and you have a steady hand! The adhesive you use should ideally be a contact adhesive, the kind you apply to both surfaces and wait until it gets ''tacky'' then you push the surfaces together.
1. Insert the plastic mounting card into the badge panel. Make sure that it's been pushed all the way down to the bottom of the badge panel pocket and sitting straight.
2. Using a small brush or applicator, carefully apply contact adhesive to the backing card through the badge cut out. Be careful not to get it on the leather. Use the same brush to apply contact adhesive to the back of the badge. Aim for a thin, even coat and make sure not too much is applied. The goal is a solid bond with no squeeze out.
3. Once both surfaces are tacky (semi dry and sticky), fit the badge into the shape. You may need to gently manipulate the badge panel so the badge sits nicely in the cut out shape. Once in place, press firmly on the badge with both thumbs.
A strong adhesive gets a thumbs up because it keeps the wallet nice and low profile!
Prongs
In our experience, you can only fold the prongs a few times before they break so we don't see them as a very secure mounting method. Marking the mounting holes on the backing card is also much more difficult requiring multiple attempts for correct alignment which the prongs just don't allow. Therefore, if the prongs on your badge break when your removing it from the standard issue wallet, it's best to remove what is left of the prong base and glue it in place with a strong adhesive. (see gluing method)
Thumb Screws
Thumb screws make for much easier mounting but they do have a down side... The thumb screws protrude from the back of the mounting card so you can see the bumps through the wallet cover. We feel that over time the bumps would become high points and cause uneven wear on the wallet, ultimately shortening the wallets life. We are all about long lasting products here, so the thumb screws get a thumbs down. After showing a client what the thumb screws were doing to their badge wallet, they asked me to remove them and carry on with the gluing method.
If you'd like to stick with this method, we suggest placing an old card you no longer use behind the screws to add an extra layer between the screws and wallet cover. Here's how we did it.
1. Insert a cardboard backing card into the badge cut out pocket of the badge wallet.

2. Press your badge into the badge cut out shape & into the cardboard card, the idea here is to mark the locations of the mounting pins on to the cardboard card with pressure

3. Remove the cardboard card from the wallet and make small holes where you see impressions from the mounting pins. We use an awl but a drill with a small bit will work well. Check that your badge fits well in the holes.
4. Place the cardboard card with the holes in it on top of the plastic backing card and mark the hole locations.
5. Punch or drill the holes in the plastic card
6. Mount the badge to the backing card with the screws
7. Carefully fit the backing card with the badge attached into the badge pocket. This will require some gentle manual manipulation of the badge panel for a good fit.

We hope our instructions help you properly fit your badge to your new RMK badge wallet. Please get in touch if you have any further questions!


Leave a comment
This site is protected by hCaptcha and the hCaptcha Privacy Policy and Terms of Service apply.