
I'm Matt, director & product designer of RMK and I wanted to share some tips so you get the most out of your new RMK Made holster!
Break In Period
When you first receive the holster, the fit will be snug depending on which multi-tool you carry. Expect a break in period of 1-2 weeks. The holster will get easier to operate with use! To speed up this process, repeatedly insert and draw your multi-tool from the holster!

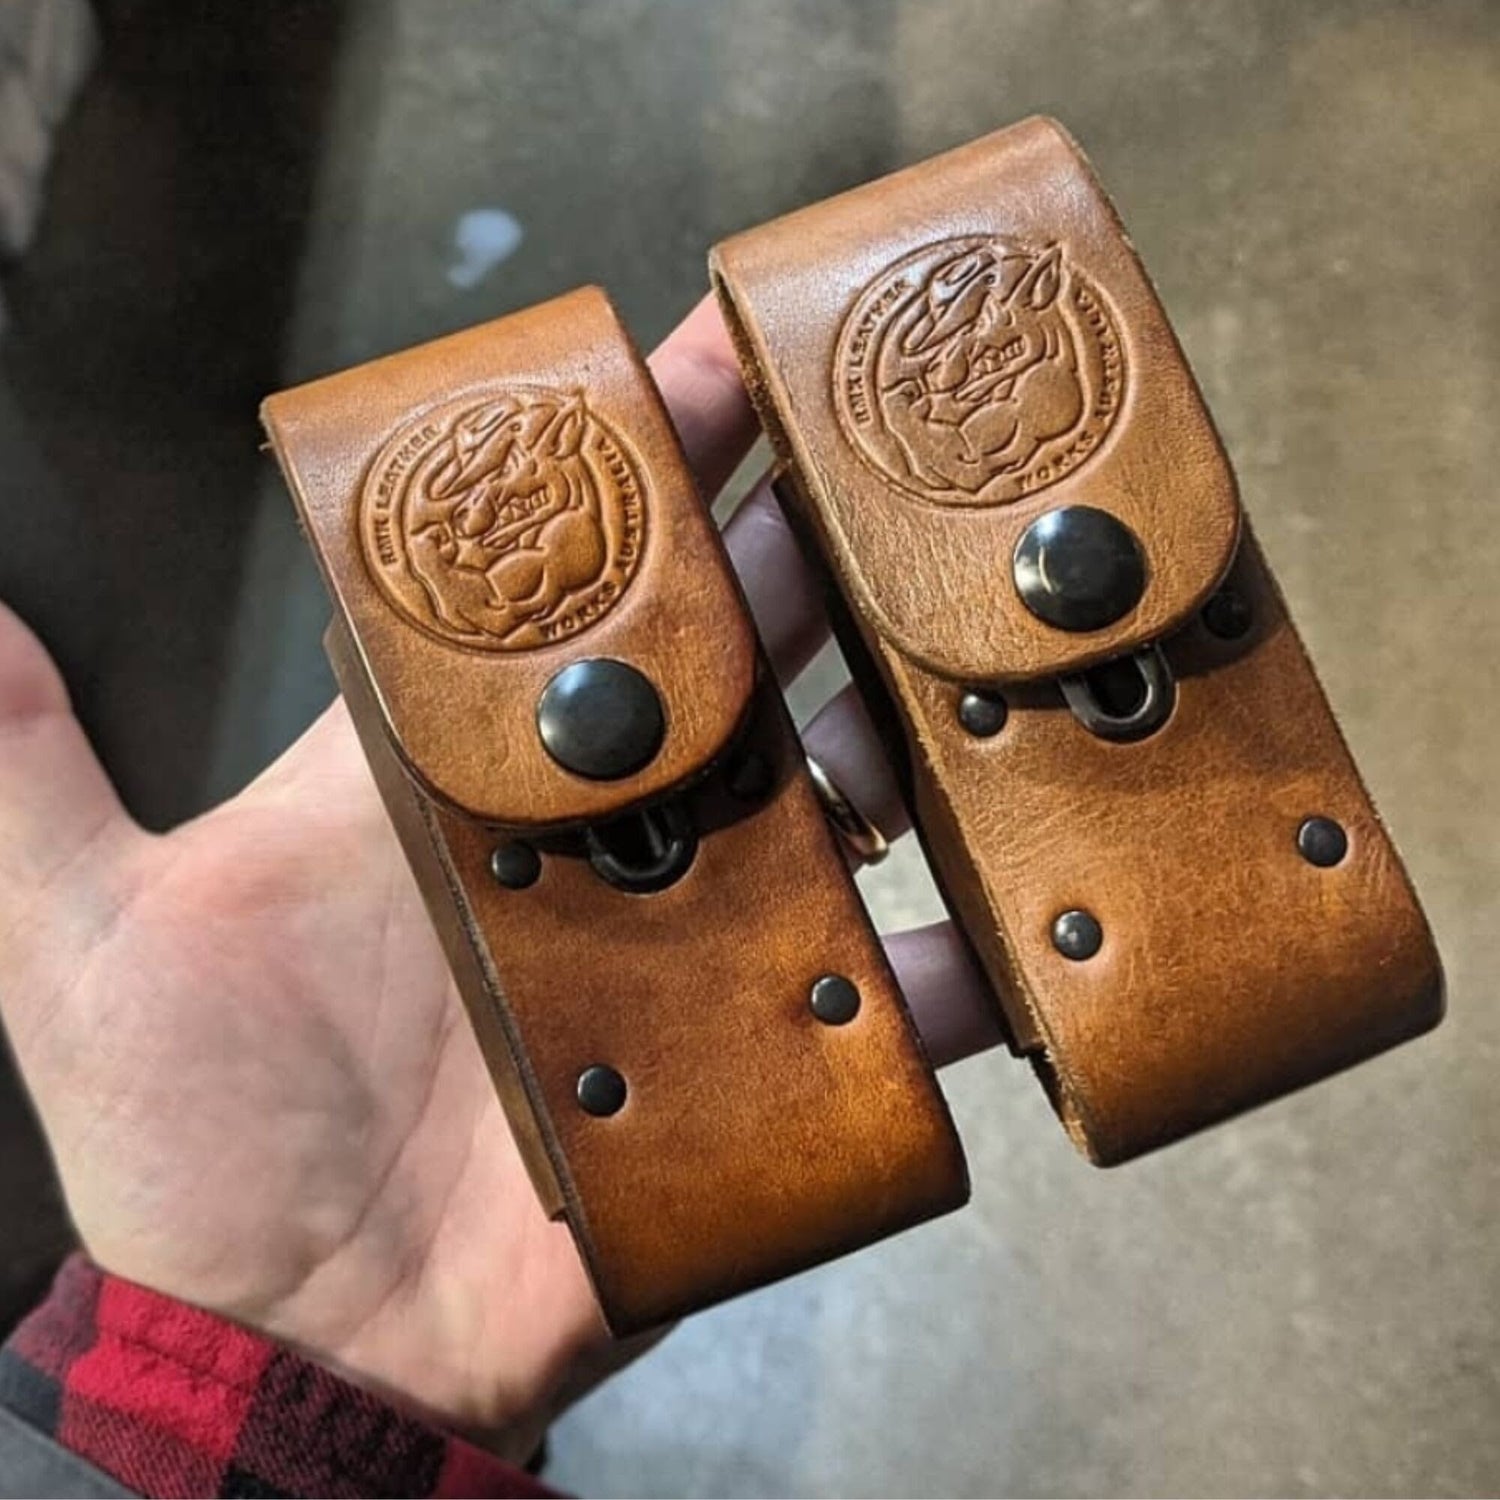
The Spring Steel Holster Clip
We have used this style of holster clip on vertical carry solutions for years! I can count on one hand how many times they've been reported to fail since we started producing them back in 2018.

This video shows how the RMK vertical carry Leatherman holster clip works.
The holster is designed to be used in combination with a thick leather belt for secure carry. We recommend our robust 5mm thick leather belt that's 38mm wide for the most secure carry for your multi-tool. The holster clip slides over the belt strap into position. To remove the holster you need to reach behind it and lift the ''tail of the clip'' to slide it off the belt. If you wear a belt that is too thin with this holster, it will move around on your belt and will not carry securely!
Regular Holster Size Tips
The regular sized holster includes a firm foam insert to boost up shorter multi-tools such as the Wave. This is so you can get a grip on the multi-tool to draw it from the holster. If you are using a P4, Arc or Signal, the foam insert is not required. You can remove this foam insert by poking it out of the bottom of the holster with a blunt object such as a pen.

Multi-Tool Clips
Some factory multi-tool clips are not compatible with our holsters and will need to be removed. Here is an example with the Leatherman Arc.

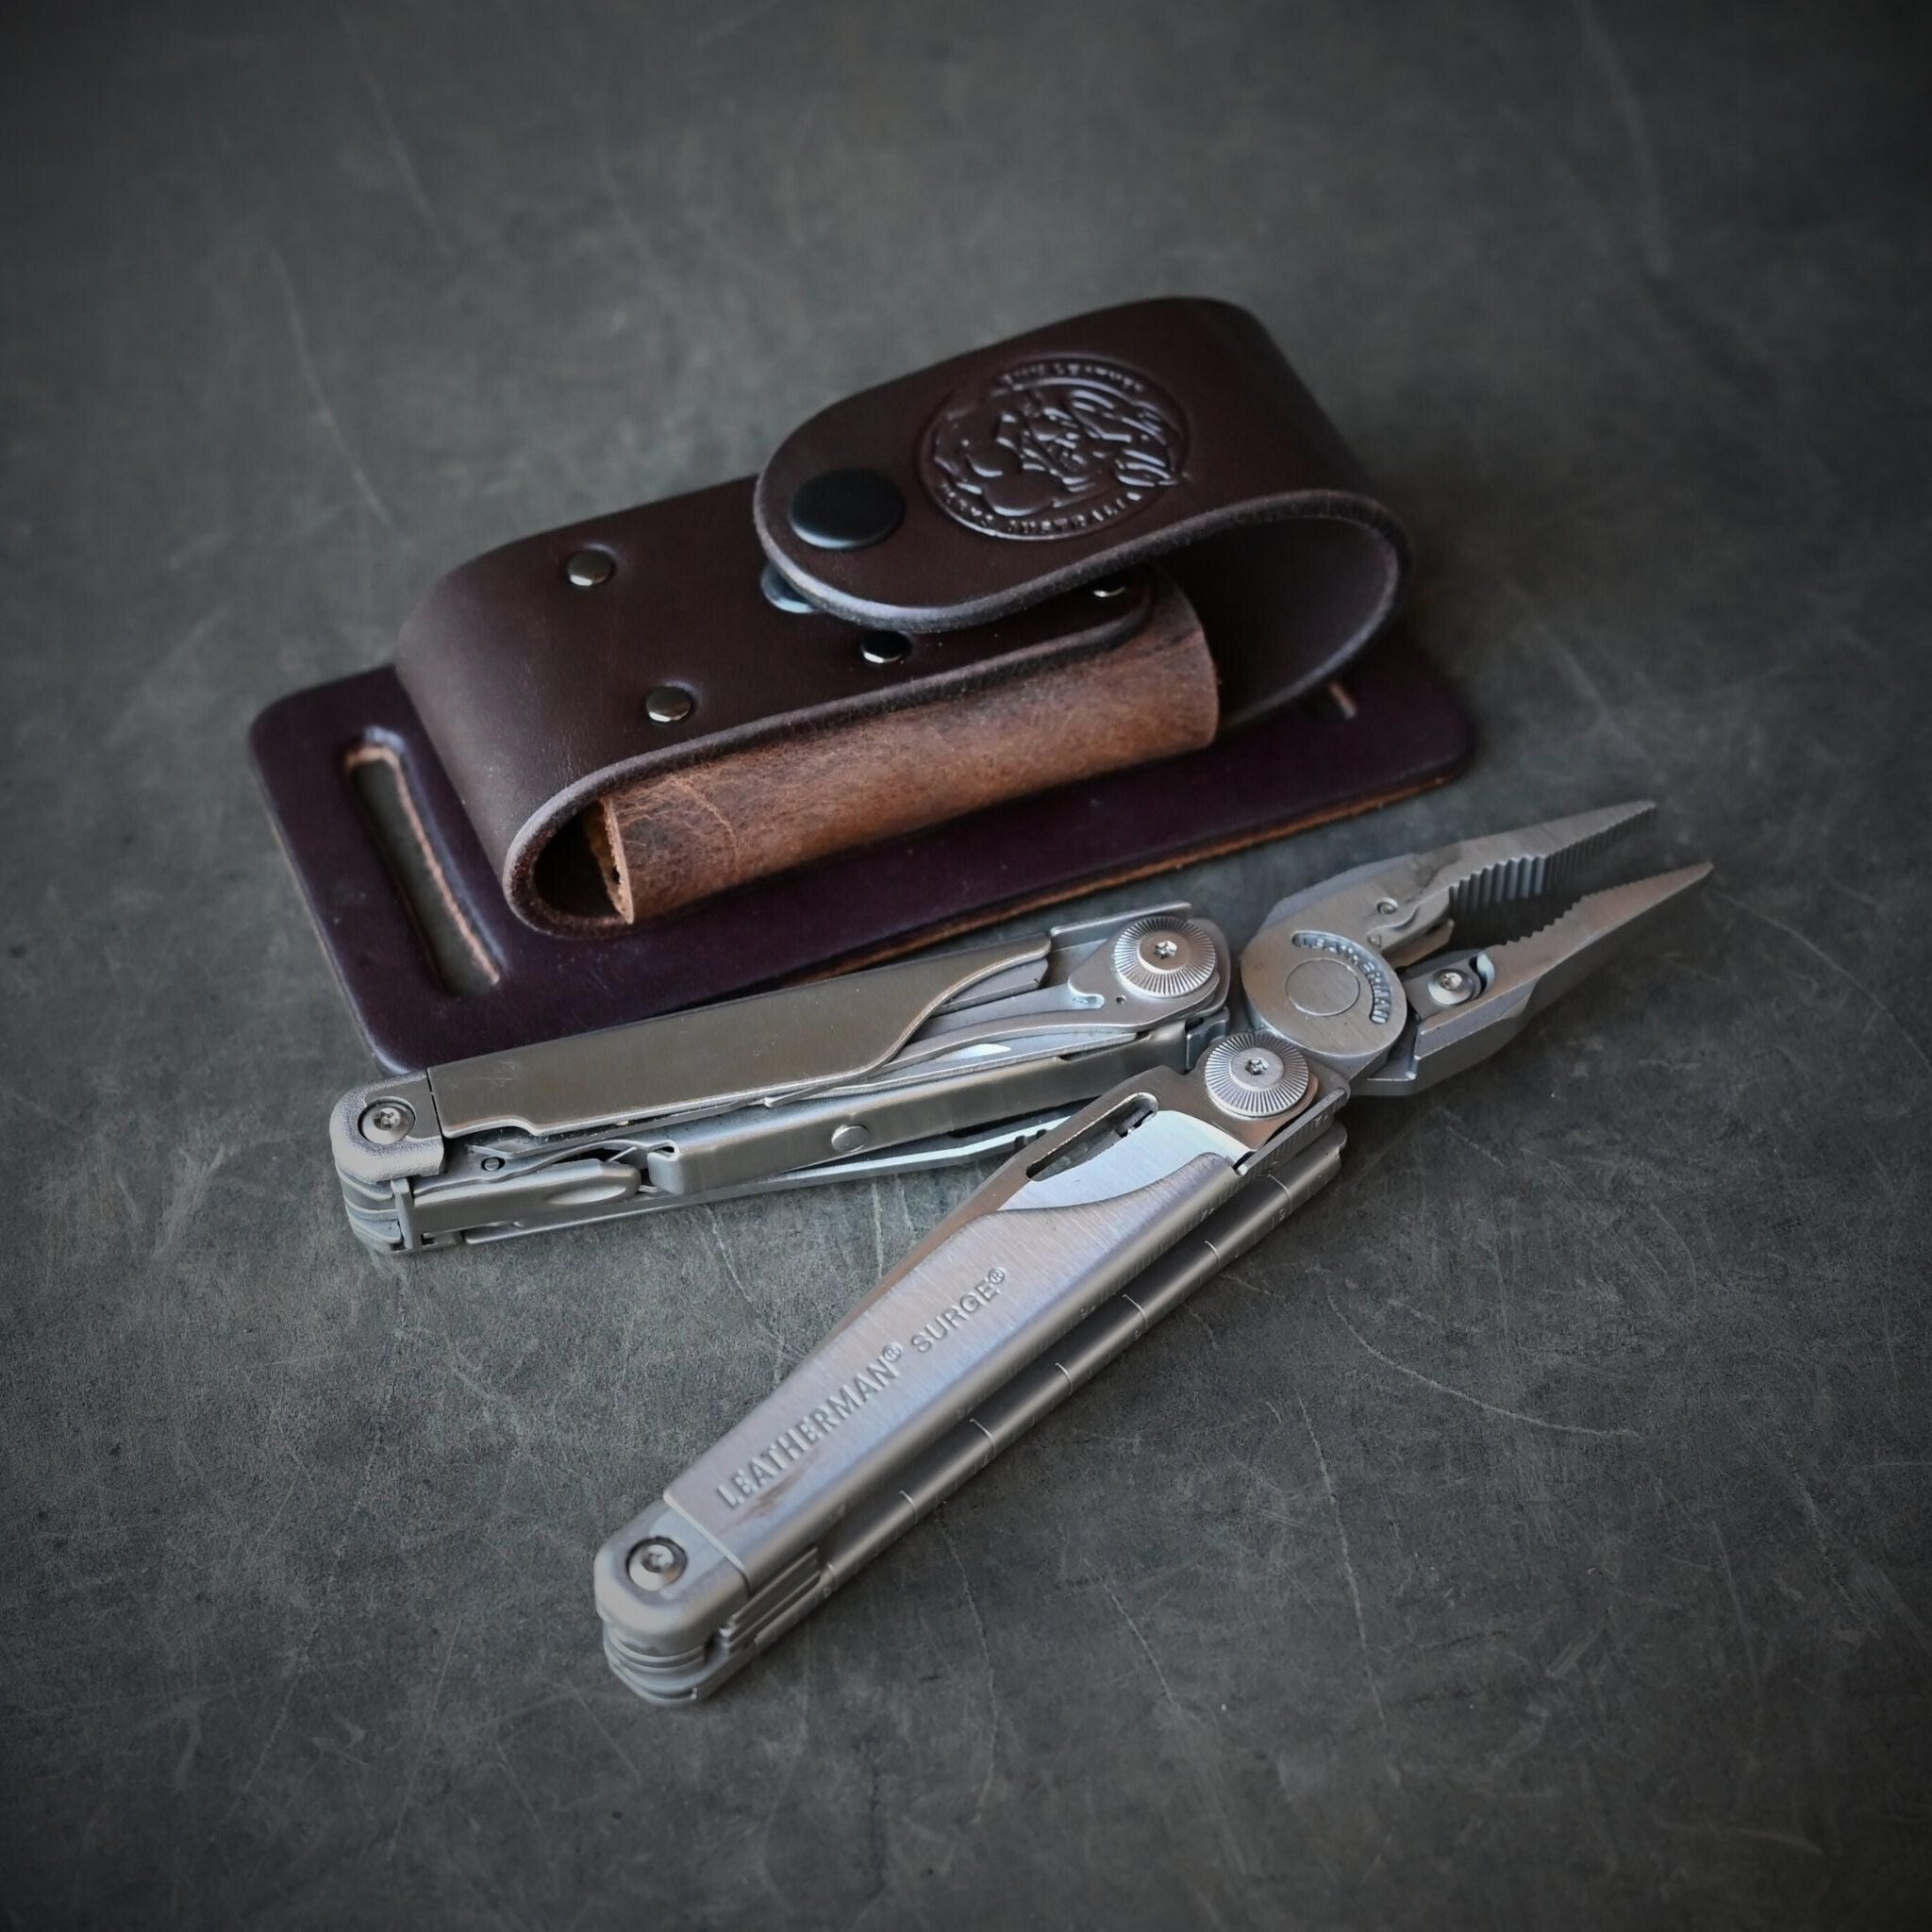
The Adjustable Snap!
Our adjustable snap design is an exclusive RMK innovation. Loosen the screw that secures the male section of the snap to slide it up or down and into the position required to suit your multi-tool and then tighten it in place. When it's set at the right height for your holster, you can eliminate any tool movement inside the holster. Ensure to do the screw up nice and tight! If you lose your adjustable snap, you can find replacement parts in the Parts & Maintenance collection. If you don't intend to swap out your multi-tools, you can lock the threads with Loctite.

Leather & Care
If your holster appears dry, conditioning it with a quality leather conditioner will prolong the holsters life. Dry leather is brittle leather, hydrated leather is strong! We use Oak Wood Leather conditioner because it doesn't darken your leather goods like some other brands.

If you have any questions, don't hesitate to get in contact with us. We are always happy to help! Thanks again for shopping with RMK and we hope you enjoy what we have crafted for you!


Leave a comment
All comments are moderated before being published.
This site is protected by hCaptcha and the hCaptcha Privacy Policy and Terms of Service apply.